
How to Tap a Maple Tree for Syrup A Step-by-Step Beginner's Guide
- greydogmaplefarms
- Jul 11, 2025
- 4 min read
Tapping a maple tree is not only a delightful process but it also rewards you with the heavenly taste of homemade maple syrup. This guide is designed to help beginners learn the essential steps of tapping maple trees, from the selection of the right tree to the collection and processing of sap.
Understanding Maple Syrup Season
To start this journey, it’s crucial to grasp when tapping should take place. Maple syrup season generally runs from late winter to early spring. This period occurs when daytime temperatures rise above freezing, while nights drop below. These fluctuations create ideal conditions for sap flow.
During this season, sap travels up from the roots to nourish the buds of the tree. This sweet liquid is what you will collect and eventually turn into syrup. In fact, you can collect approximately 40 gallons of sap for every gallon of syrup produced, as the sap contains just 2-3% sugar on average.
Selecting the Right Maple Trees
The next jump in the process is identifying which maple trees to tap. Not all maple varieties produce sap suitable for syrup. The top three species known for syrup production include:
Sugar Maple (Acer saccharum): This tree produces the richest sap, with sugar content between 2-3%. It’s the gold standard for syrup production.
Black Maple (Acer nigrum): Similar to sugar maples, black maples yield sap with sugar content comparable to their sugar maple cousins. They are a bit less common but still valuable for syrup makers.
Red Maple (Acer rubrum): These trees yield sap that averages around 1-2% sugar, making it less ideal, but still suitable, especially for beginners.
When tapping, focus on healthy trees that have a trunk diameter of at least 10-12 inches. Such trees can usually support one tap without harm.
Gathering Supplies
Once you've pinpointed your trees, it's time to gather your tapping supplies. Here's what you will need:
Spile: A small metal or plastic spout that enables sap to flow out of the tree and into your collection container.
Drill and drill bit: A 7/16-inch drill bit is typically used for creating the tap hole.
Collection buckets or bags: These will hold the sap as it drips from the tree.
Lid or cover: This keeps debris out of your sap collection.
Maple sap hydrometer (optional): This tool helps you measure sugar content in your sap.
Large pot or evaporator: Essential for boiling down sap into syrup.
Cleanliness is crucial because sap can spoil easily in contact with contaminants.
Tapping the Trees
With your supplies ready, it’s time to tap. Follow these steps closely:
Choose the Right Location: Find the right spot on the tree, ideally between 2-4 feet from the ground, preferably on the South or Southeast side for the best sap flow.
Drill the Hole: Create a hole that is 1.5 to 2 inches deep. Angle the hole slightly upward to promote better sap flow.
Insert the Spile: Firmly yet gently tap the spile into the hole. It should fit snugly without excess force, which could harm the tree.
Attach Your Collection Device: Place your collection bucket or bag directly under the spile. Cover it if you're using a bucket to keep contaminants out.

Collecting the Sap
After tapping, you can start collecting sap during warming days. Monitor your trees, checking them every couple of days.
The sap is typically clear and has a mildly sweet flavor. Be sure to check your collection containers frequently, as they can fill up fast.
Just to give you a guideline, each tap can yield anywhere from 5 to 20 gallons of sap during the whole season, translating to approximately 1 quart of syrup after boiling down.
Boiling Down the Sap
Once you have enough sap, it’s time to turn it into syrup. Here’s how:
Set Up Your Equipment: Ideally, set up your pot or evaporator outdoors to avoid the mess and steam it creates.
Heat the Sap: Pour your collected sap into the pot and begin heating. Aim for a steady boil.
Constant Monitoring: Keep a close watch on the sap as it boils down. Regularly check and add more sap as it evaporates.
Filter the Syrup: When the sap reaches 219°F, it’s time to filter using a syrup filter or cheesecloth to remove impurities.
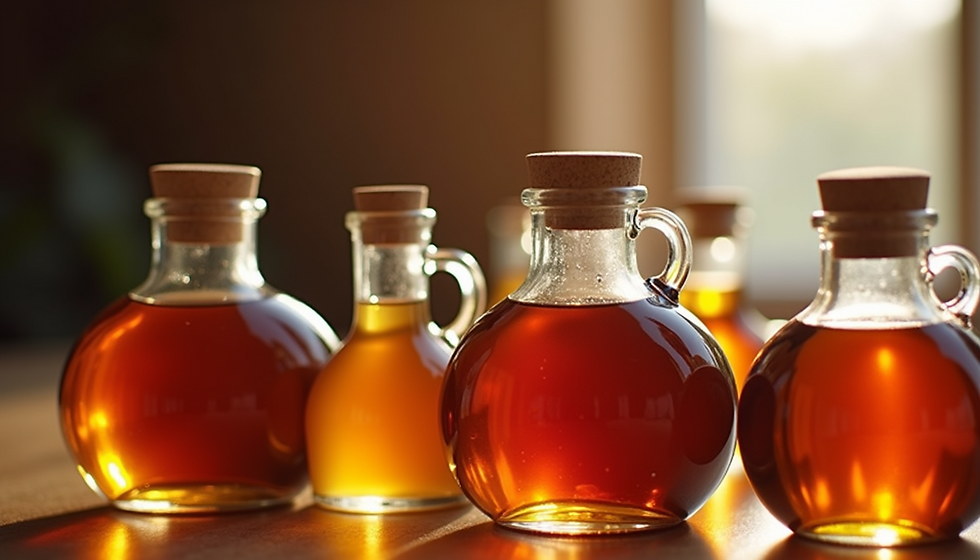
Bottling: Finally, pour your syrup into clean, sterilized bottles. Seal them tightly and store in a cool place or refrigerate for longer shelf life.
Troubleshooting Common Problems
While the process can be straightforward, beginners may face some challenges. Here are a few common issues with solutions:
Low Sap Flow: If the sap isn't flowing, it could be due to temperatures not being optimal or the tree being stressed. Make sure you are tapping during the right season.
Bitter Flavor: A syrup with a bitter taste may indicate it burned during boiling. Always monitor closely and avoid overheating.
Contamination: Clean equipment is vital to prevent spoiling your sap. Be aware of your surroundings, too; make sure nothing contaminates the area.
Storing and Enjoying Your Maple Syrup
Now that you have your syrup, it's time to think about storage and enjoyment:
Storage: If bottled properly, maple syrup can last up to a year when kept in a cool, dark place. Once opened, it should be stored in the refrigerator.
Usage: Enjoy maple syrup drizzled over pancakes and waffles or use it as an ingredient in marinades or baked goods. Its sweet, rich flavor enhances many dishes.
Enjoying the Sweet Rewards
Tapping a maple tree for syrup is a fulfilling experience that connects us to nature. With the right tools, information, and a bit of patience, anyone can create their own delicious maple syrup.
This guide walks you through the essentials—from choosing the right trees to boiling sap. With each season, you'll refine your technique, making the syrup-making craft even more enjoyable.
Remember to embrace the process and savor the sweet outpouring of your hard work!


Comments